Anyone who has been involved with photography for some length of time has heard of shutter release cables. But have you ever asked yourself why you need a remote shutter release in your bag? You should ask yourself this question because many photographers still purchase a remote shutter release as one of their last accessories. It’s almost as if we can hear them saying, “Well, I don’t do night photography.” But a remote shutter release offers you so much more; it opens a creative door that you can’t effectively access without one. In case some of our readers are new to photography, let us start out by talking about what a remote shutter release is.
A remote shutter release is a remote way to trigger your camera shutter without having to touch the camera. In the earlier days, it was generally referred to as a cable release. There was a dedicated shutter release socket on the camera where you could connect the cable. The cable release is still in use today, although it is less common, especially in consumer grade digital cameras. The more common release used today is an electronic release.

There are two types of releases for cameras: tethered and untethered. The difference between the two is that a tethered release is a wired device whereas an untethered release is a wireless one. A “cable release” is a tethered release as is a “wired electronic release”. An untethered release is connected to the camera via a receiver, and you hold the wireless remote in your hand. The untethered release uses a radio frequency signal to trigger the release of the camera shutter.
Here is an image of a cable release.

And this is a tethered electronic release.

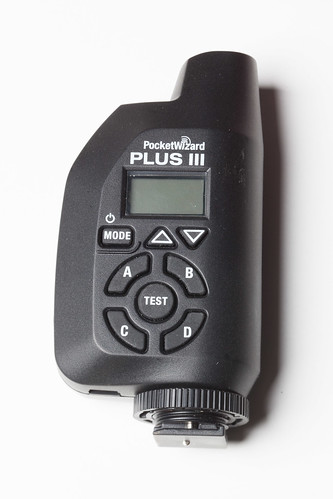
And this is an un-tethered electronic release
The choice between a cable release and a tethered electronic release is often dictated by the camera model that you use. An untethered release (radio trigger, as they are often referred to) can be purchased for most cameras; you just need to make sure that you get the right model to connect to your camera. So why would you choose a tethered release versus an untethered release?
The untethered radio trigger offers the most versatility; you can literally be standing a very long distance from your camera and still fire it at will. But with that versatility there are costs: it is more expensive, it requires batteries, and it requires more knowledge for setup and use.
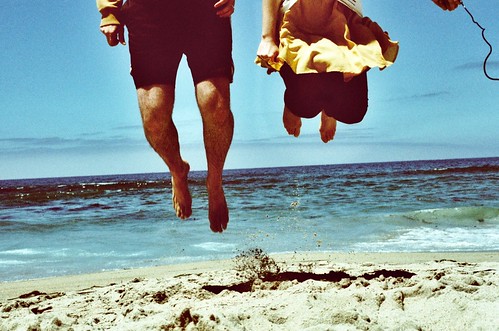
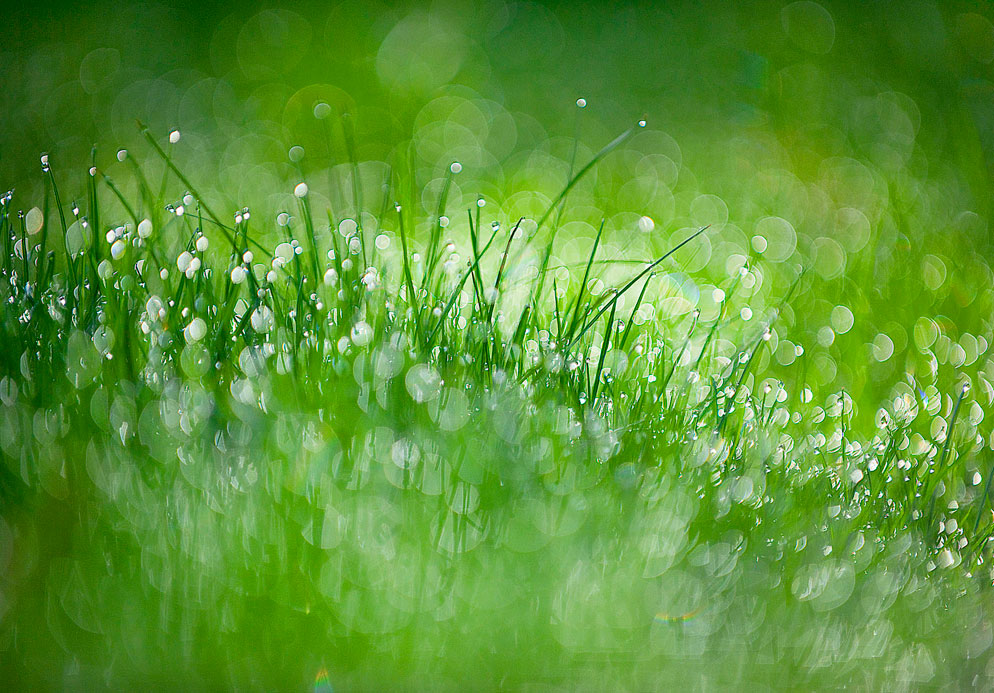
The tethered release is less expensive and easier to use. The main “purchasing option” with a tethered release is “how long the cable is”. They can be short, 4 to 6 inches in length, or, as long as 5 feet. The longer the length, the less likely you are to bump the camera during an exposure. The trade-off being that you must find room for it in your camera bag. The photograph below is a perfect example of a long, tethered, cable release being put to creative use.
How is a Remote Shutter Release Useful to You?
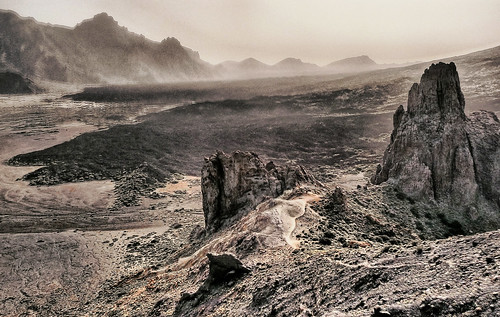
Now that we know what a remote shutter release is and what choices we have when acquiring one, let us find out what it can do for us. The main reason to buy one is to prevent “camera shake” when photographing a subject under high magnification, or, when using slow shutter speeds. And of course, a remote shutter release is handy if you want to include yourself in the photograph. It is very difficult to “press” the shutter release button on your camera without “nudging” the camera. Most people just aren’t that delicate with their touch. The beautiful photograph below was ruined by an unfortunate camera shake that could have been avoided if a camera release was used.
The camera release helps keep your fingers away from the camera at the point of exposure. But there are other reasons as well.
Situations When a Camera Release is Useful
- When using Telephoto Lenses
- Doing Macro Photography
- Shooting Multiple Exposures
- Using Slow Shutter Speeds due to Lack of Light
- Using Slow Shutter Speeds to Create the illusion of Movement
- Painting with Light
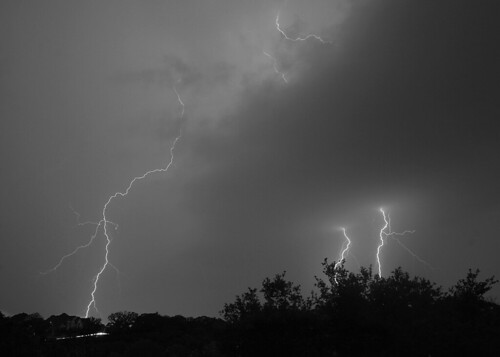
- Capturing momentary Bursts of Light
- Shooting HDR Images
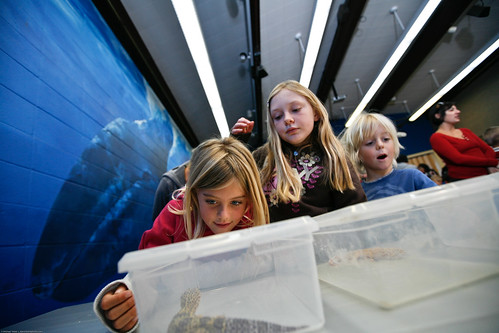
- Shooting Skittish Subjects
- Shooting Dangerous Subjects
Let’s Discuss Each of Them in Detail
1. Using Telephoto Lenses
Long telephoto lenses do what we’re looking for, i.e. pull a subject in closer, through the use of magnification. It’s this very magnification that makes them difficult to use and get a sharp image. Not only is the lens magnifying the image, but it is also magnifying the effect of camera shake. It’s like looking through a pair of heavy binoculars that is hardly steady.

There are many techniques one may employ to steady a camera and telephoto lens. One of the primary techniques is a remote shutter release. If you’re using long telephoto lenses you should consider putting a release on that camera whenever possible.
2. Macro Photography
Just like telephoto lenses macro photography works through magnification, but it also adds one more element- close focusing. It’s the magnification that, once again, makes it difficult to achieve sharp results in your photographs without putting in extra effort. If you’re into macro photography and you are thinking about buying a new macro lens, you can’t live without a camera release. This one simple tool will instantly improve the quality of your images!
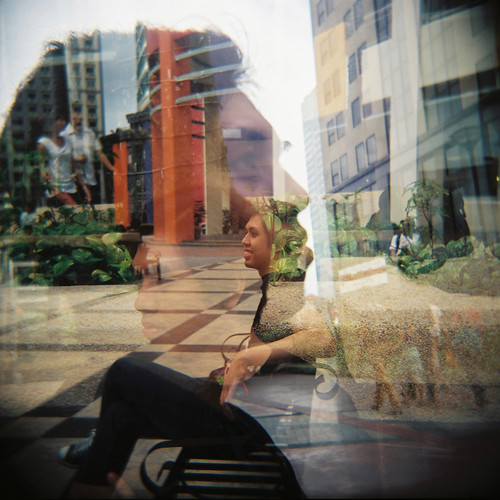
3. Multiple Exposures
Multiple exposures was an often used form of creative expression in the pre-Photoshop days. Today, many photographers create multiple image photographs in post-production. But something gets lost in that technique. It’s that sense of surprise, and anticipation, of what you might have captured that makes creating it in camera so much fun. If your modern digital camera doesn’t allow multiple exposures, try picking up an inexpensive Lomography camera (we really like the DianaF+). Your remote shutter release comes into play when you want to create multiple exposures by moving objects within the scene but you want to keep the overall image sharp. Using your release you can fire the camera multiple times or lock the shutter open.
4. Slow Shutter Speed due to Lack of Light
You may at some point find yourself in a situation where you have very little available light to work with. Perhaps you can’t use a flash because the scene is too large. You don’t want to drive up the ISO because you want perfect picture quality. In this situation you could put your camera on a tripod, or even just rest it on a solid base such as a table or ledge, attach your release to the camera, and confidently make an exposure without creating camera shake.

 5. Slow Shutter Speed to Create the Illusion of Movement
What if you find yourself in a situation where you have plenty of light. But the subject matter has movement and a fast shutter speed just doesn’t convey the scene as you see it in your mind. A slow shutter speed would allow the movement to become fluid. You make a creative decision, put the camera on a tripod, set your exposure to a long shutter speed, fire the camera using your remote shutter release, and “Boom!” You have a great photograph with rock steady detail in the areas that weren’t moving and motion captured in the areas that were moving. This is often referred to as a shutter drag.
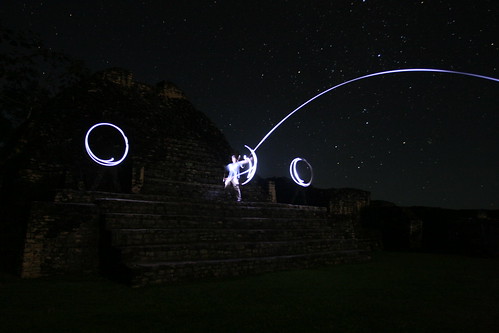 6. Painting with Light
Painting with light is probably one of the most fun expressions of creativity any photographer (no matter what their experience level) can do. It brings out the child in all of us. To try this, you need to pick a dark location, lock your camera down on a tripod or some steady surface, lock the shutter open using your remote shutter release, and select the bulb setting on the shutter speed dial of your camera. By the way, almost all remote shutter releases allow you to lock the shutter open, or you can manually hold the shutter open for as long as you want. Once the shutter is locked open, have someone (or yourself), enter the scene with a light-stick, or a flashlight, or any light source that you can think of, and paint away. Once you’ve completed your painting, return to the camera, and close the shutter. You can also create interesting effects by mixing painting with bursts of a flash.
 7. Capturing Momentary Bursts of Light
When discussing this subject, two ideas come to mind-
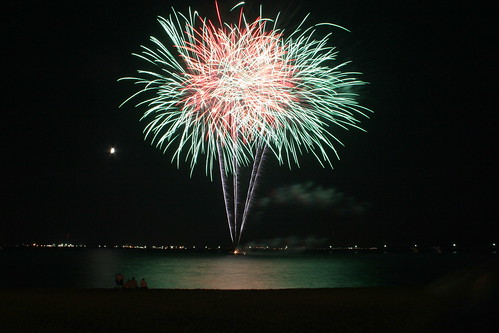
But these are just two ideas! This is where you stretch your creativity. What other bursts of light could you dream up and photograph?
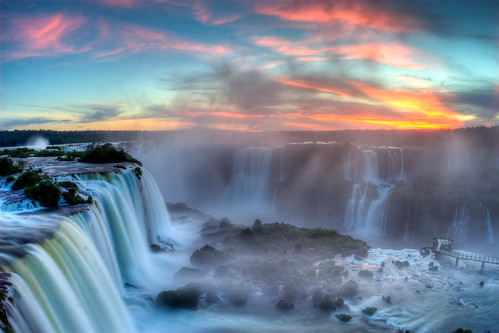
 8. HDR Photography
If you’re interested in HDR photography (and who isn’t these days) you need to realize that the precise alignment of your HDR exposures is crucial to your final outcome. While you can simply click the shutter button with your finger, why take the chance that you will bump the camera and ruin that award winning shot? A remote shutter release give you an extra edge toward quality!
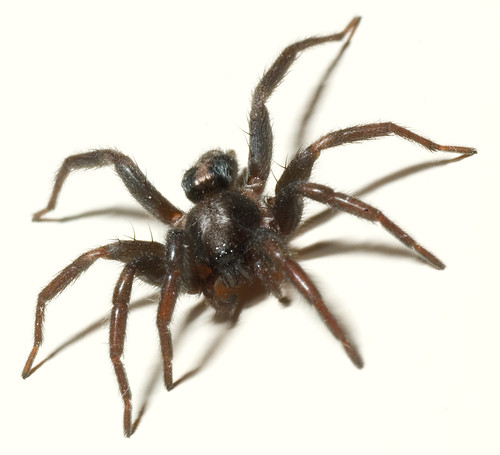
9. Shooting Skittish Subjects
If you’re into photographing birds, animals, insects, kids, or any other subject that changes their behavior when they become aware of you- a remote shutter release is a gift from the Heavens. This is an area of photography where you may want to invest in a radio remote release. Going that route allows you to completely remove yourself from the picture area. You simply set up your camera and go relax somewhere where you can observe the action. If you put your camera into an auto exposure mode, you don’t even need to worry about the ambient light changing. For these types of subjects you might find the “drive” mode of exposure handy, as you can shoot bursts of images.
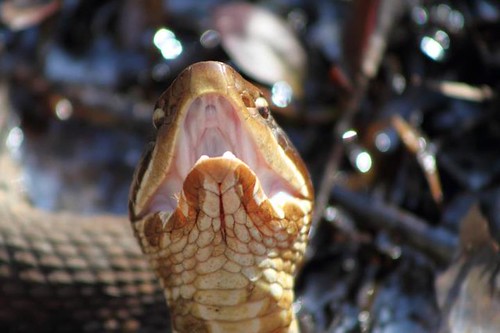 10. Shooting Dangerous Subjects
Most of the same principles for skittish subjects apply here. But, we would like to reiterate a point that this article opened up with- You need a remote shutter release in your bag. We also stated that an it can open doors of creativity for you that would otherwise be unavailable. The point being- how many of us would want to hang out close to a poisonous snake or a gigantic bee hive? However, if you feel inspired to do so, a remote shutter release opens up that opportunity while giving you the safety of distance.
We hope that this article has inspired you to put a remote shutter release in your bag and come up with some creative ideas on how to use it!
 Jody Dole
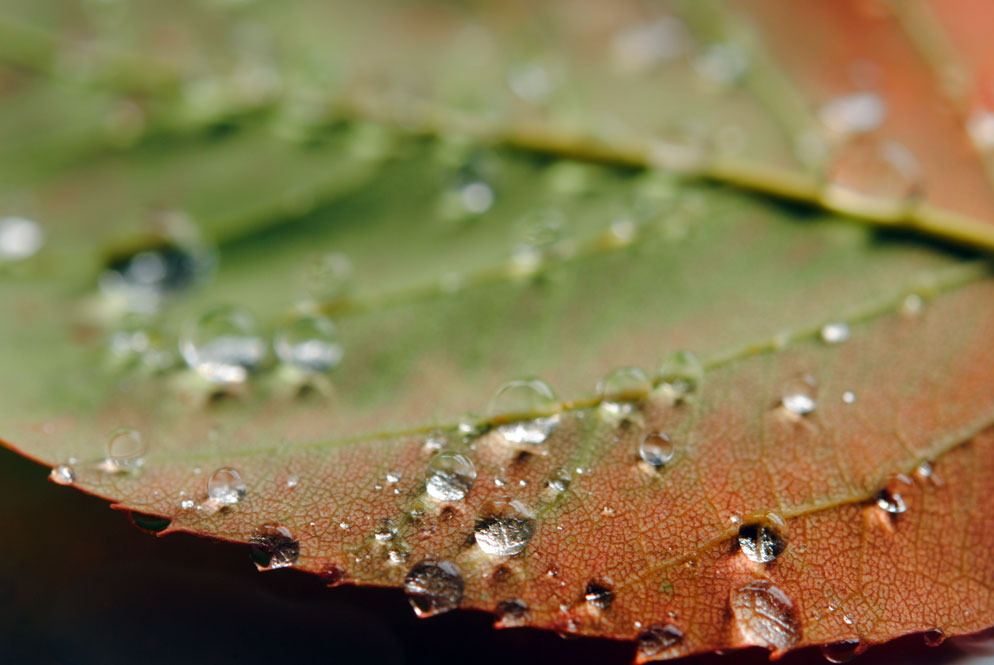 Paul Van Allen


 Hello! I’m Amanda, a quirky, introverted Mom of four, who is passionate about helping others learn their cameras and editing software. I also currently homeschool my four kids, ages 13 to 6, all whom run away when they see me carrying my camera. Visit me at my